The record feature allows you to record external audio via line or microphone inputs, using a built-in or secondary audio device.
Set-up recording
- Select your desired Audio input device via Setup > Audio:
- Change to the Song View (or press SHIFT + ` on your keyboard) and click Add Audio or Project Menu > Create > Add New Audio Track to add a new audio track to your project:
- In the Recording area, use the Channel Input selection drop-down to select either a mono or stereo input, as well as the relevant channel you wish to record with:
NOTE: Clicking 'Input Setup' from the drop-down menu will take you to the setup menu to select your input. as in step 1.
Recording audio
- Click on the Input monitor icon in the Recording area to enable input monitoring, allowing you to prelisten to the signal that is being input, via your speakers.
- Ensure your input signal is not clipping, and levels are adequate - if your input signal is distorted (the meter will turn red) or the input signal is too quiet, adjust the input gain on your sound-card, or adjust the output gain or volume of the device you’re recording.
- Click the Record button to arm your recording, or press the / key on your keyboard, then listen for the count in, and capture any desired audio. Once you’ve finished recording, press the Record button again, or press the / key on your keyboard again.
TIP: Loop the Audio track to record via multiple "passes":
NOTE: If the metronome is enabled before or during recording, or other scene or audio clips are audible during recording, the recorded audio will match your project BPM. Drag your recorded file onto the Analyze Files button to re-analyze your recording, or right-click on your recording and choose Analyze Files, if the initial result is undesirable.
Recording location
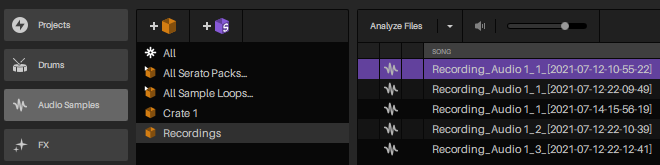
- Audio recordings are stored via User\Music\Serato Studio\Recordings, and can also be found in-app via the Audio Samples tab in your Library, in the Recordings crate, which is automatically created the first time you record audio.
- Recordings are automatically titled Recording_Audio_x_x and are proceeded by the date & time, as per the example below:
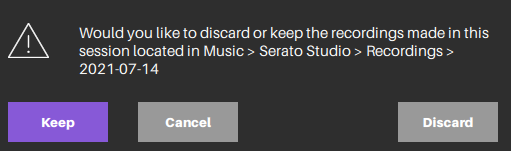
- If you close Serato Studio without saving your project after making a recording, you'll be prompted to keep or discard your recording, as shown below: