Serato offers a variety of free visuals to help make your DJ streaming sets more enticing to your viewers. Our OBS content packs are comprised of video files, alongside animated and static images, which, when set-up properly, result in an animated scene. You can even insert yourself into the scene, using a green screen.
- Get the free content, here
If you're not already familiar with live streaming using Serato DJ Pro, check-out:
We also recommend optimizing your set-up before using the visual content, as using it can demand more from your computer than a regular audio stream:
Using OBS Studio to create a animated scene
- First ensure you have the latest version of OBS Studio installed, here.
- Launch OBS Studio and choose a scene where you already have the Serato Virtual Audio device set-up, from the guide above.
- Click the + in the Source panel, and choose Group. Creating a Group will allow you to add the components of your Serato scene and quickly enable or disable the visuals easily.
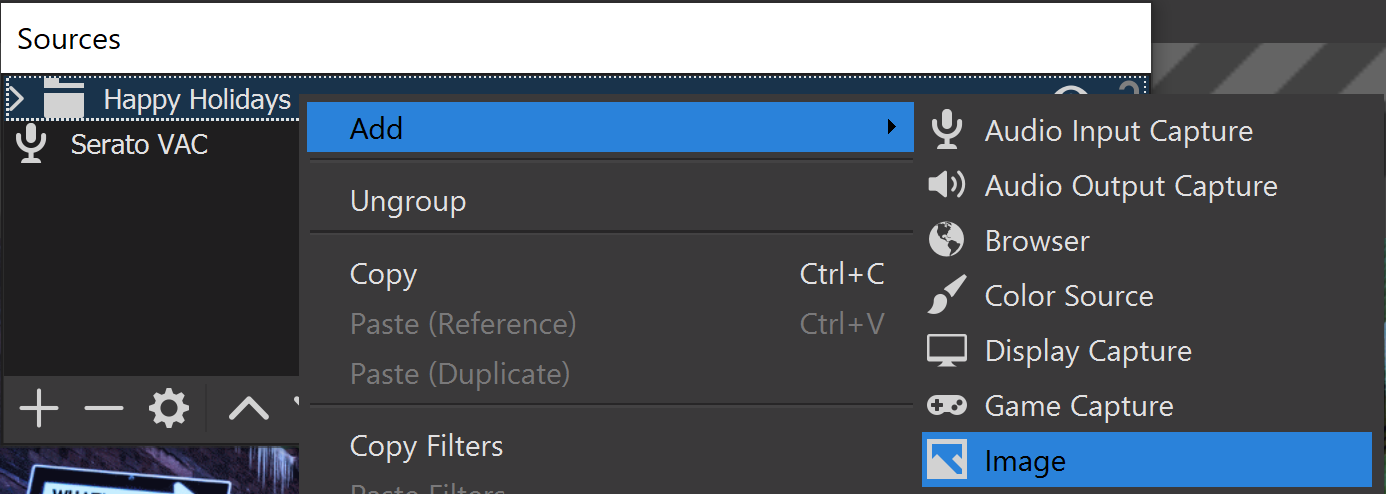
- Once you've created and given the Group a name (we've used Happy Holidays as in the example below), you're ready to start adding the images that make-up the scene. Right-click on the Group and choose Add --> Image:
- Click Create New, and appropriately name each image component as you add them from the relevant free visuals pack, then click Browse to navigate to the place on your computer where you downloaded the pack to. Most components are in an animated GIF image format. The files to add in each scene are numbered appropriately, giving you an indication of which one to load first.
- Remember to resize each component to fit the output window in OBS Studio correctly. You can right-click on added components, and choose Transform --> Fit to screen or use CTRL + F on your keyboard to get the size right - but you'll still need to click and drag on the component to get it positioned correctly.
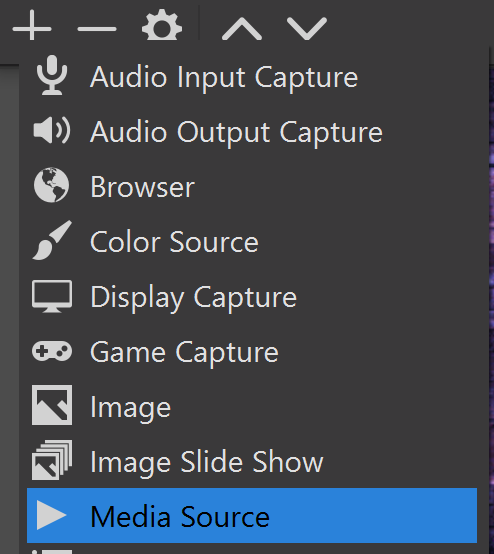
- Lastly, added any looped video components, by choosing Create New, then Media Source
- Ensure Loop is checked in the preferences, then click Browse to navigate to and load the MP4 video file. Once added, use the resizing instructions from above to get the size correct, and position it appropriately.
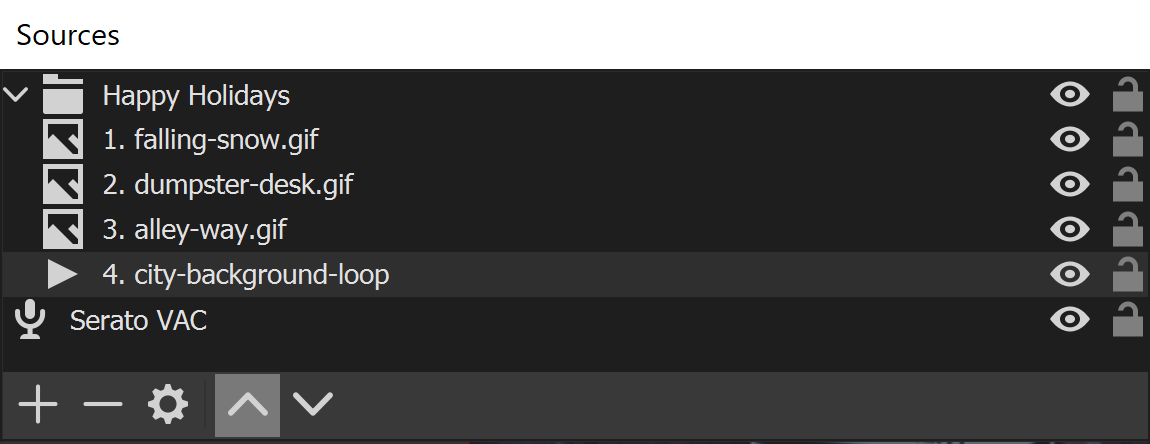
- Finally, click and drag each component into the Group you created earlier, and now adjust the order by using the arrows at the bottom of the Source panel:
- You can also insert yourself into the scene, by using a green screen and video camera, which you can read about here.