Click on 'Master' in the Song View to view the Master track in full size. To return to the Deck & Scene view, click on 'Scenes' in the Song View.
Alternatively, the 'Back to Scenes' button (top left corner of the Master View) will also return you to the Deck View and Scene Player.
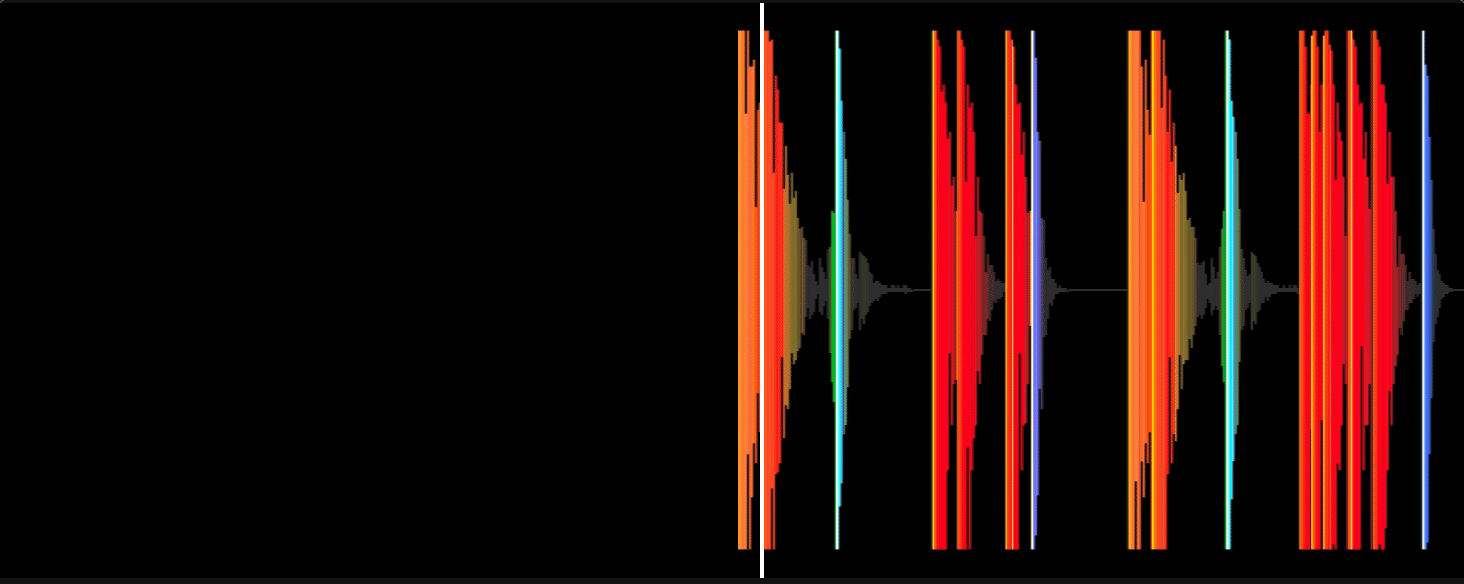
The Master View in Serato Studio features a large waveform overview of your song that will render in real-time during playback. Use + or - on your keyboard to zoom in or out.
To the left of the Master waveform is the Master Channel Mixer.
This features the following:
Gain: Increases or decreases the maximum volume that the master channel can reach.
High: Reduces or increases the high frequency content on the master channel.
Mid: Reduces or increases the mid frequency content on the master channel.
Low: Reduces or increases the low frequency content on the master channel.
Filter: Turn clockwise to engage a high pass filter, and counter-clockwise to engage a low pass filter, on the master channel.
Pan: Send a percentage of the audio signal to either left or right stereo fields. Turn clockwise to pan right, and counter-clockwise to pan left.
Peak: A small red indicator will light up directly above the fader, when the channel signal exceeds 0db. Decrease master channel gain or volume to avoid this.
Fader: Click and drag the fader up to increase the volume of the master channel, or down to decrease the volume of the master channel.

Along the top of the Master View is a Master Header Bar where you can find track information.
Master Header Bar: Includes project filename, BPM, key and song length.

Master FX: Below the Master waveform overview are the Master FX - add up to 3 FX to your Master output.

NOTE: Master FX are not applied to stem files on export.